Warning! The process for what I am about to explain is quite complicated for a few reasons.
- It requires a feature (the PowerPoint Morph transition) that is ONLY available in newer versions of PowerPoint (either Office 365 subscribers or those with PowerPoint 2019).
- It requires you to painstakingly edit points for your shapes, which requires…
- A steady hand
- A lot of patience
- It requires time.
As such, this task is not intended for a PowerPoint beginner. You should be already familiar with PowerPoint animations. That said, the exercise below is a very basic example to show you conceptually what is possible–morphing one shape into another shape and the process required for doing so.
Materials
To begin, you need only a blank slide in a current version of PowerPoint (either Office 365 or PowerPoint 2019). See How Do I Know What Version of PowerPoint I am Using?

Step 1: Insert a Square
- Click on your Insert tab.
- In your Illustrations group, click the Shapes Icon, and click on Rectangle tool.

That will turn your cursor into a drawing cursor that looks like a cross. - Now, single click, once, anywhere on your blank slide to create a 1” x 1” square.

Step 2: Edit the Shape’s Points
- Right-click on your shape and in the shortcut menu that appears, select the option “Edit Points.”
- Hover your mouse over the top red segment of the square, and right-click to reveal the Edits Point menu; click “Add a point” to add a point to the top segment.
- Now, right-click on the top segment and click on “Delete Segment” to delete the point you just added.

I know, this seems like a pointless step since your shape will ultimately look the same. But it is an important step. You need to change the shape somehow from the default stock shape by editing its points, even if it is just one point or one segment, in order to be able to morph the shape in a later step.
Step 3: Duplicate the Slide
- Right-click on your slide that contains the square shape you created in the previous step.
- In the shortcut menu that appears, click on the option Duplicate Slide.

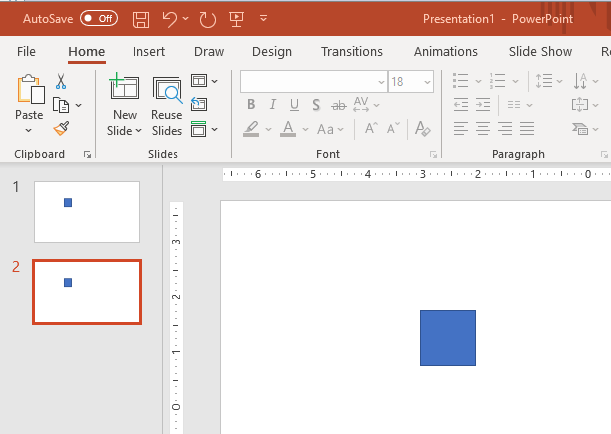
An exact copy of your slide will appear after that slide in your Slides Pane.

Step 4: Edit the Second Shape’s Points
- On the slide you just duplicated, right-click on the square and in the shortcut menu, click on “Edit Points.”
- Hover your mouse over the top-right point, right-click, and choose the option “Delete Point” to turn the square into a triangle.

Step 5: Apply a Morph Transition to Your Slide
- Navigate to your Transition tab on your Ribbon, and click on the Morph transition to apply the transition to your slide.

Your shape should now morph from a square to a triangle.
Want more Office Tips and Tricks?
If you found the above advice helpful, be sure to check out my PowerPoint Tips and Tricks video training from Lynda.com or from LinkedIn Learning for more helpful advice.


